
This is no secret, tie-dye has been a huge trend lately. I didn’t own anything tie-dye yet, so when my friend Marie Pier talked me into making our own tie-dye scarf I jumped on the idea. It is a pretty simple project but the results are just stunning! The most important thing before you start is looking for fabric that will dye (or bleach in that case). In order to have that, it has to be natural fabric like cotton, linen, silk or rayon. Acrylic will not dye. Carefully read the label before getting started. Now, here’s how:
- A black scarf
- Liquid bleach
- Water
- Vinegar
- Container
- Rubber gloves
- Plastic ribbon
- Bunch the scarf and wrap it all over with plastic ribbons.
- Display it in a safe container. It’s important that you don’t have any bleach getting on your clothes. You might want to dress up in old clothes for this, just in case!
- Pour solution of diluted bleach (with water) on the scarf ball. Try different proportion of water and bleach to have different shades. Make sure you turn the bunch over and pour some on each side. Wait a few minutes between each pouring. You will see it change magically in just a few seconds.
- Once you have a great color change, rinse the bunch with water and put it in a bowl of diluted vinegar. This will fix the color.
- Wash it and dry it. (I washed it alone in my machines)
- Proudly wear your homemade trendy scarf!
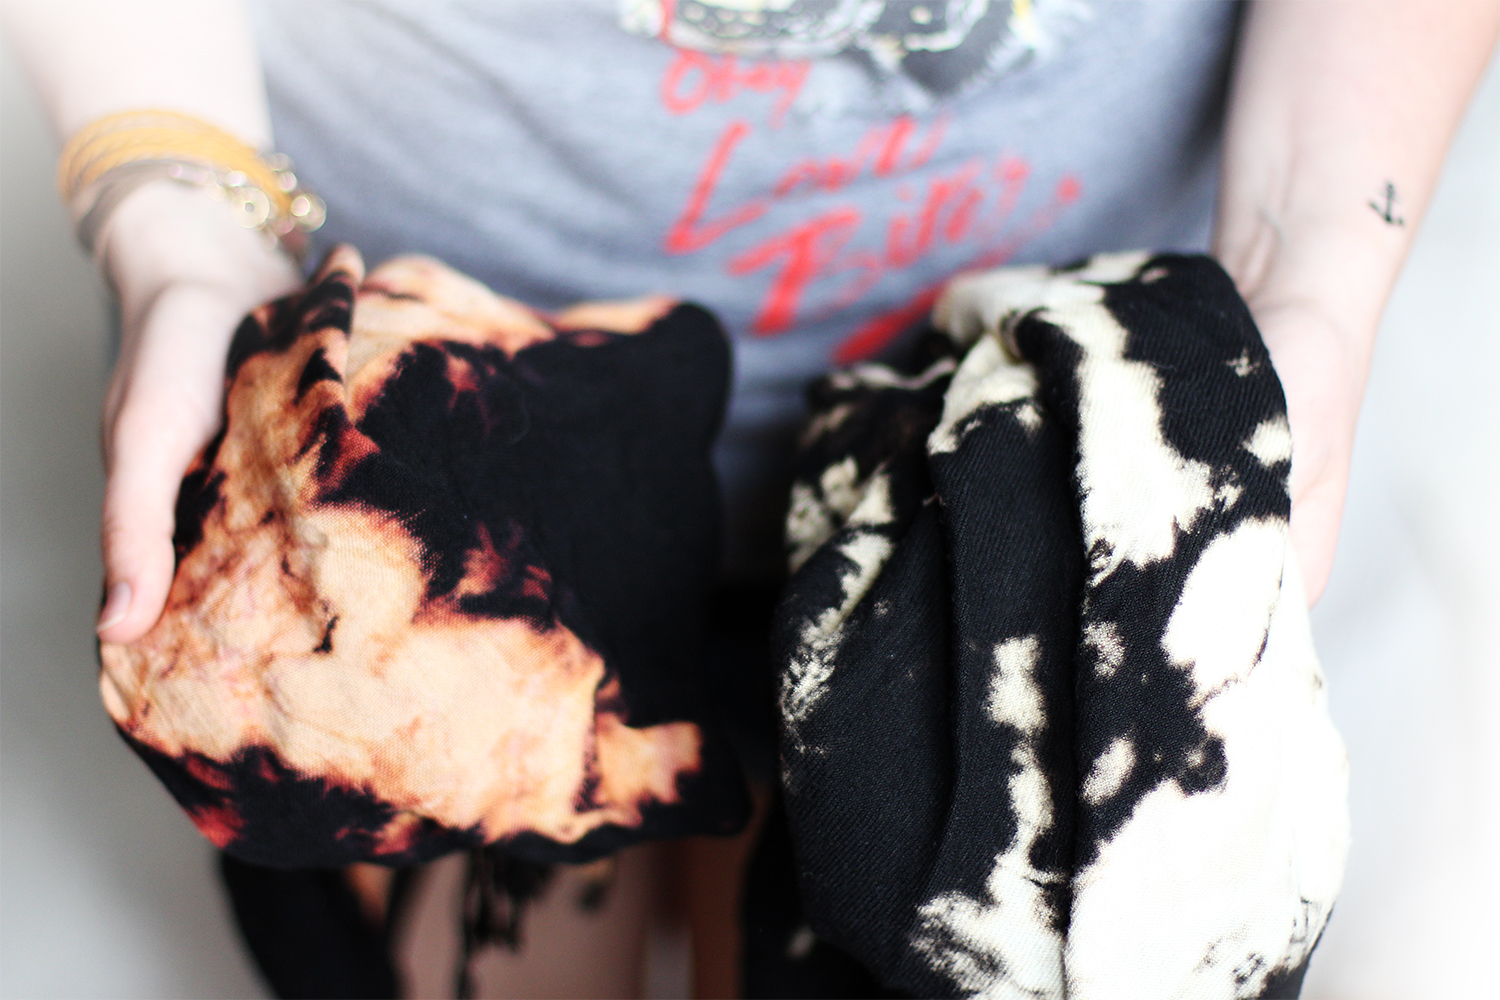
There is no garanty of what you will get. As you can see, one of our scarf ended up orange and the other one more yellow. It think this is what’s fun about this project. You don’t know exactly how it will turn out, but the results are awesome! You can now tie-dye everyhting you want as long as you follow the main rule; look for natural fabric!
So have you tried making you own scarf? How did it turn out?


SO SWELL!! I’ve never been a giant tie dye fan but I might just try my hand at this sometime soon!